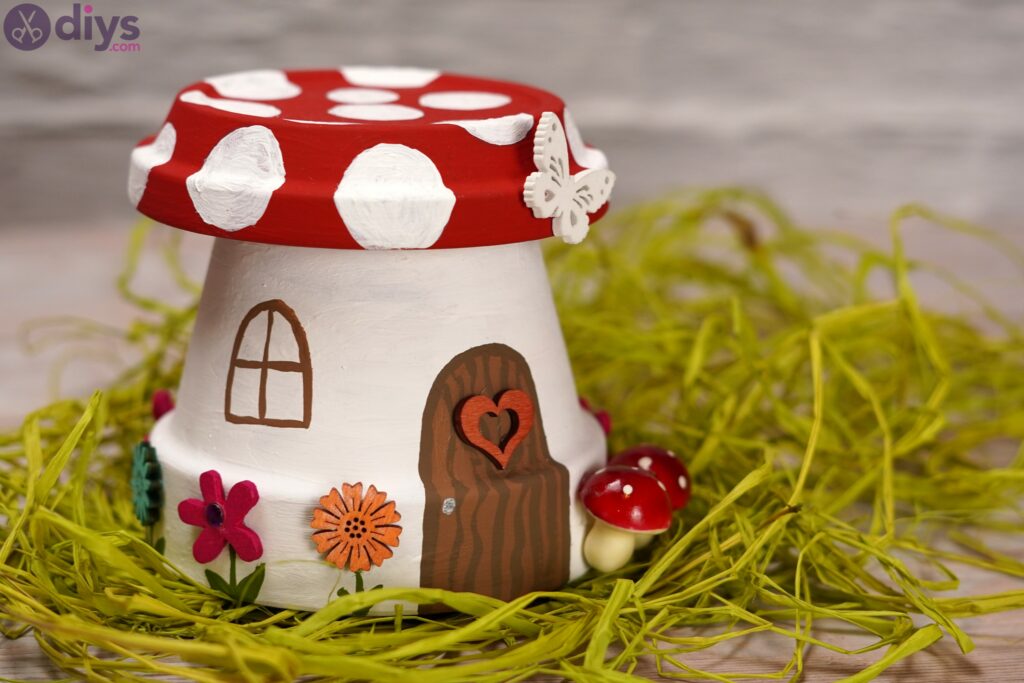
DIY Mushroom House - How to Make a Mushroom House for Your Garden
It'due south not just our house that needs decorating, but also our garden and any area around our dwelling house that we desire to expect pretty. And then, what virtually a really cute mushroom firm? We recollect this is an easy to brand craft that yous can fifty-fifty rope your kids into helping.
You demand only a few materials to brand this and information technology'southward going to turn out so pretty, you'll want to make more and so you tin gift them to friends and family too.
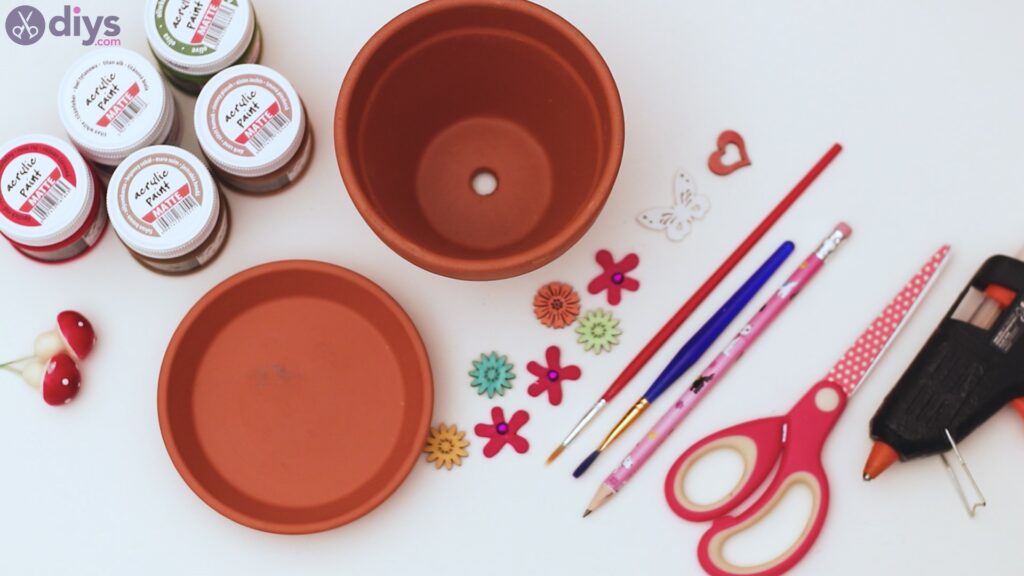
Materials for a mushroom firm
- pot
- acrylic paint – carmine, white, dark-green, two shade of brown
- decor mushrooms
- decor wood flowers
- decor forest butterfly
- decor wood middle
- paintbrush
- pencil
- pair of scissors
- mucilage gun
How to make a mushroom business firm
Creating your very ain mushroom firm is easy, but you lot do need to assemble up all your materials ahead of time. This will aid y'all save fourth dimension when you're in the eye of creating this beautiful arts and crafts as you won't desire to run around finding something you forgot. Let's get started!
Step 1: Paint the drainage plate
Every pot has a drainage plate, and every mushroom has a cap. For our craft, the plate volition play the office of the mushroom'due south cap. So, we want ours to be cherry. Let'southward get painting!
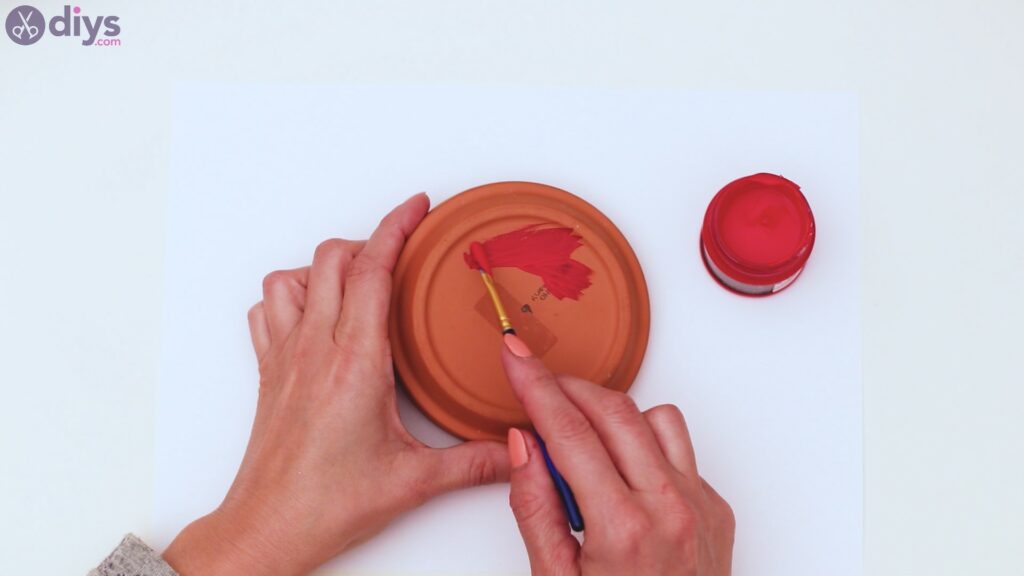
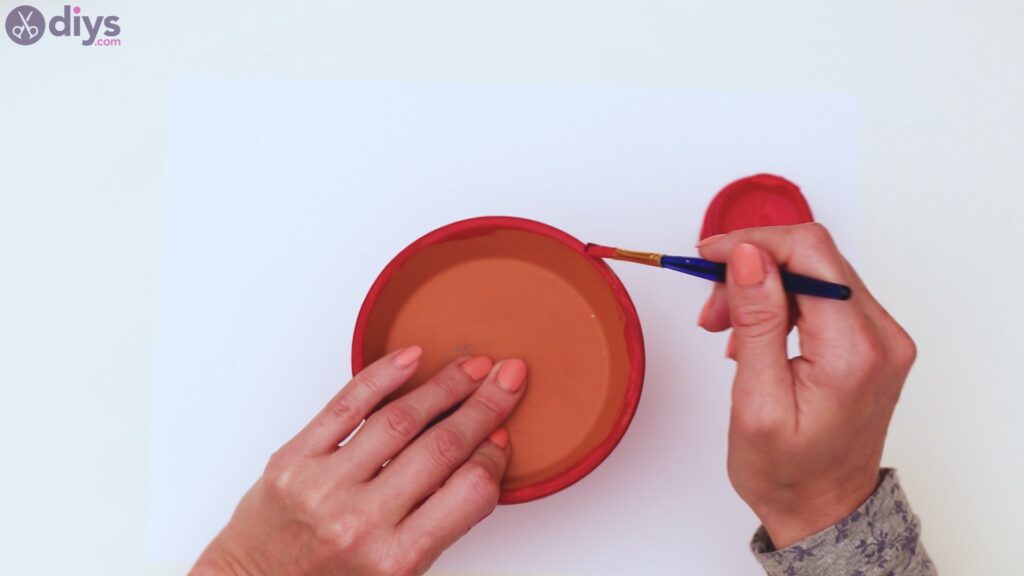
Go the ruby acrylic paint and your paintbrush, pull the plate close, and turn it over. Y'all want to paint the back of the plate with red all over, making sure to also use color over the border.
Step 2: Paint the pot
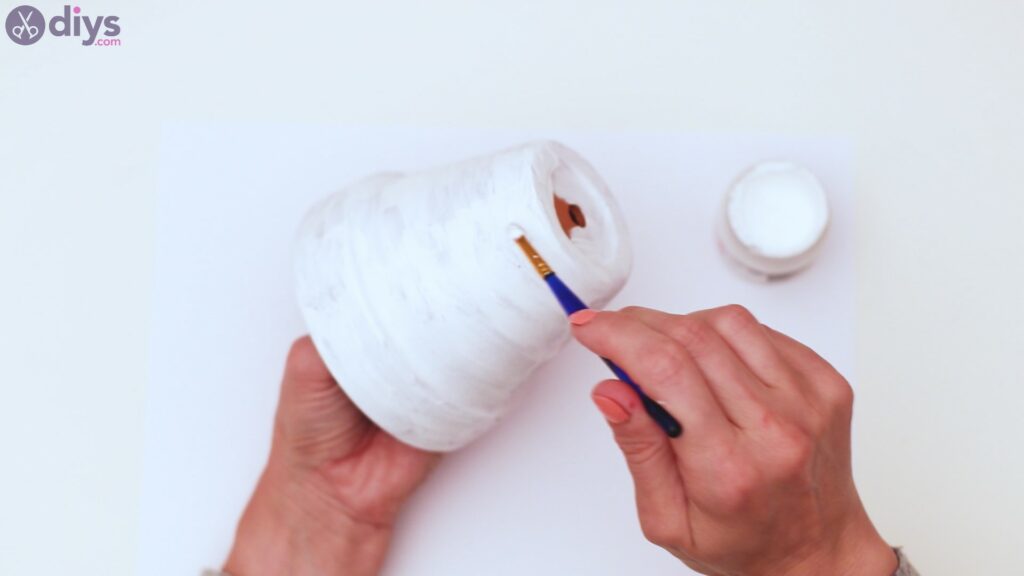
The pot also needs a little scrap of color, and so get the white acrylic paint and your paintbrush and start applying the color. Nosotros don't advise y'all to water downward the color as it will make it harder to cover the pot. Plus, acrylic paint spreads pretty well and dries rapidly.
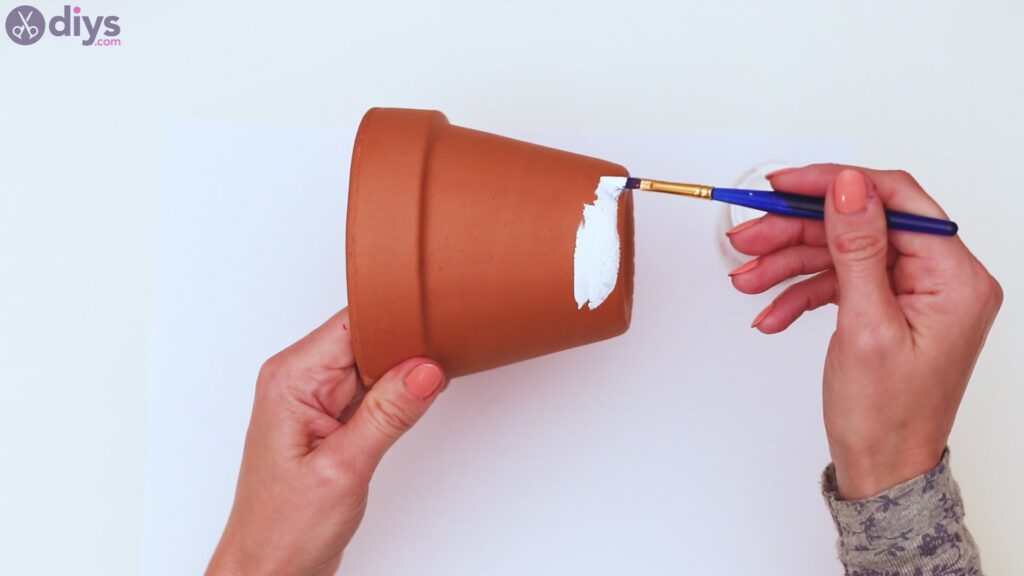
Y'all'll want to use color all over the pot, including the pinnacle and sides. Make sure you lot cover everything. If you experience like the white didn't quite make the pot white enough, you can always go for a second layer.
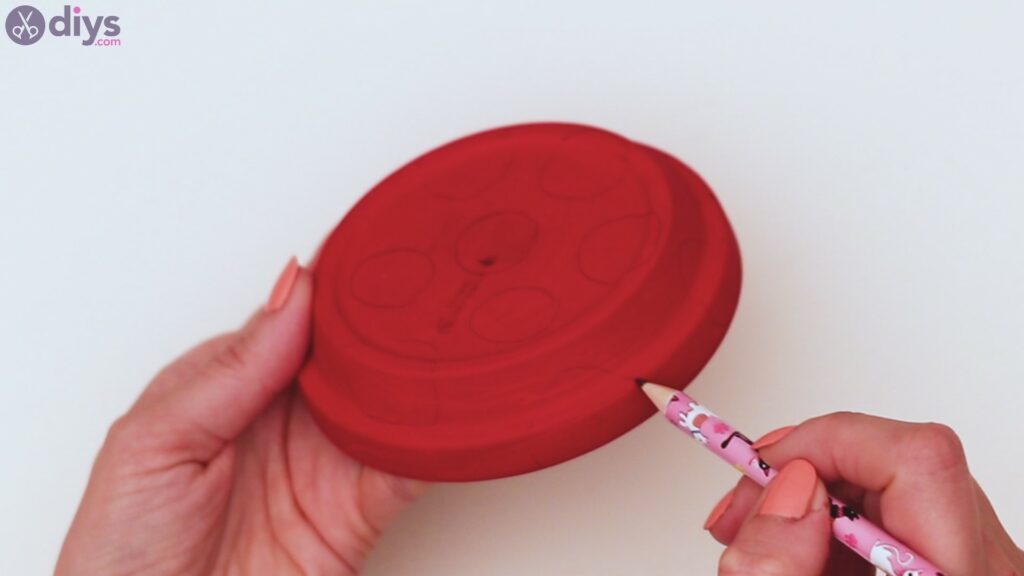
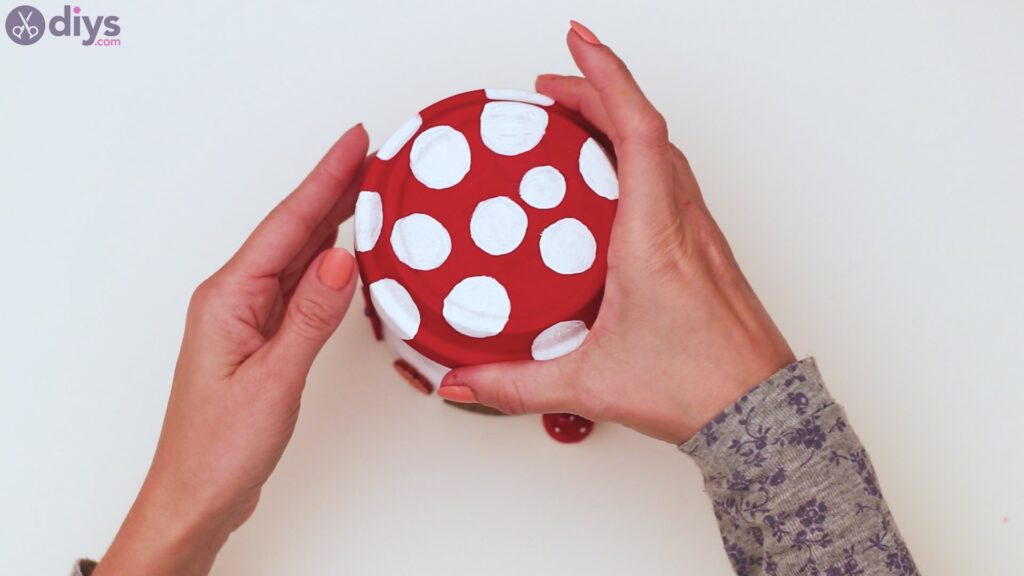
Step 3: Draw the white spots on the mushroom cap
Next, you desire to become your pencil and draw a few circles over the cherry-red cap of the mushroom. Add some of these on the summit of the plate, as well as on the sides.
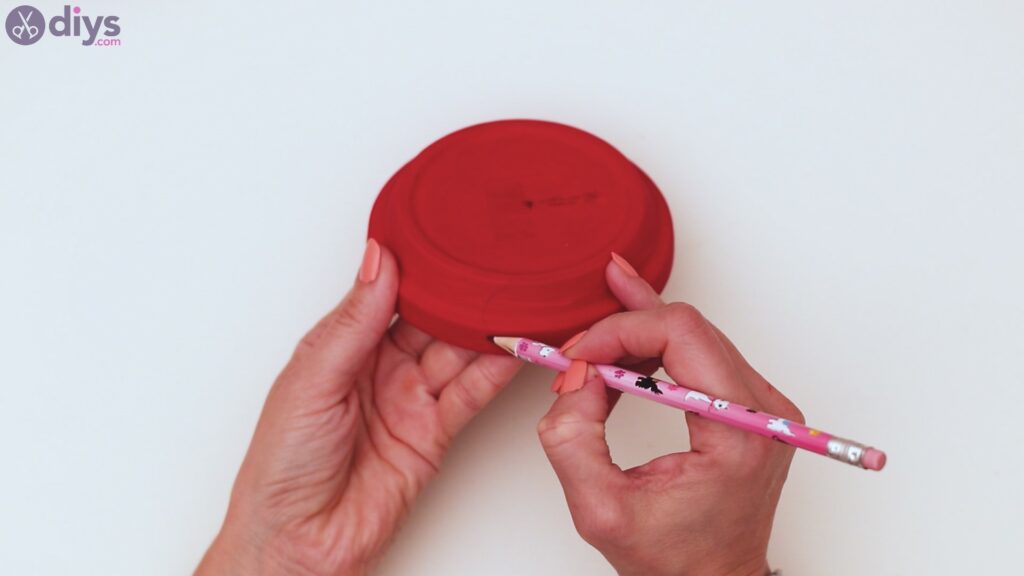
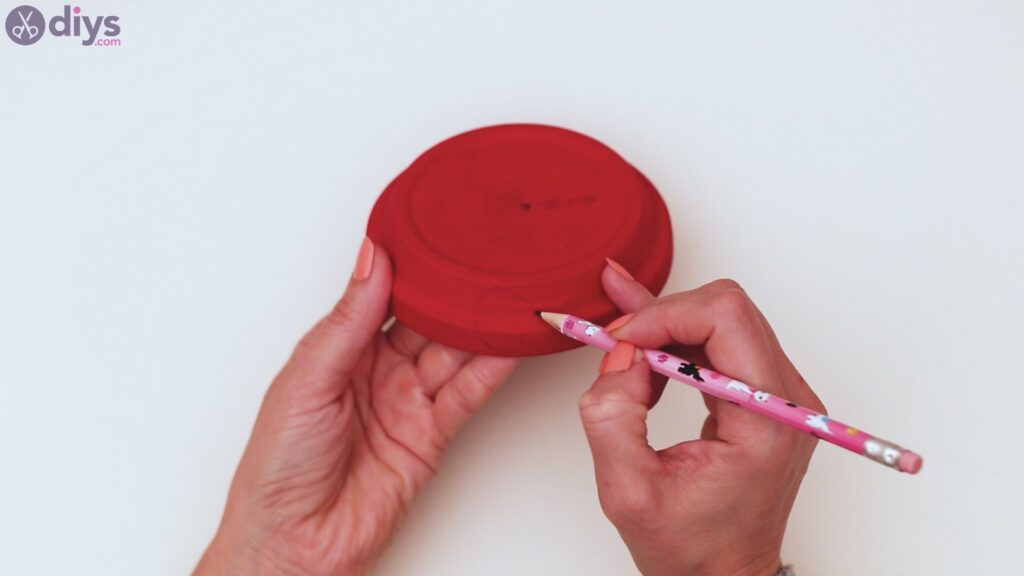
If y'all look close plenty, you'll meet how we drew in the circles for our design and you lot can practise the same.
Step 4: Paint the mushroom cap
Now that you're done drawing, it'due south time you fill up in the spots. Get thewhite acrylic paint and yourpaintbrush and outset filling in the circles equally all-time you lot can. You'll desire to try to make them all as circular as possible, just there's no drama if they're not exactly perfect. After all, nature isn't symmetrical either.
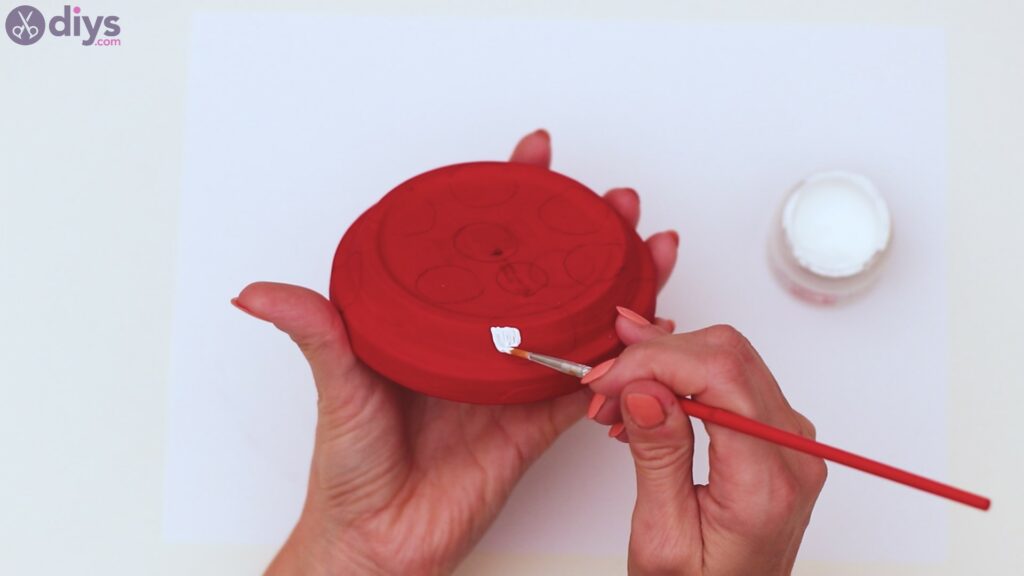
Make certain you lot don't forget any of the spots on the mushroom cap and cover everything, fifty-fifty on the sides of the drainage plate.

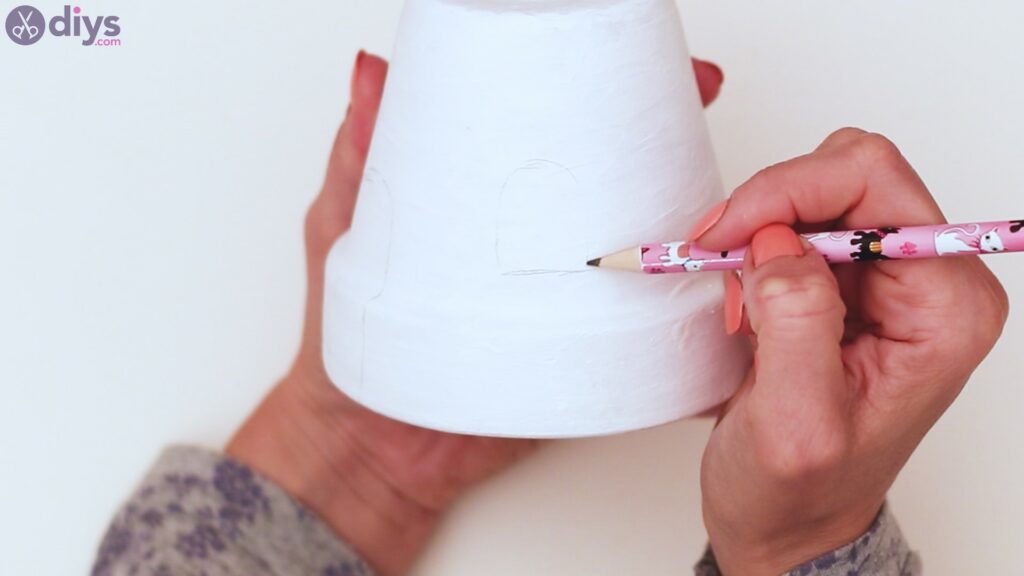
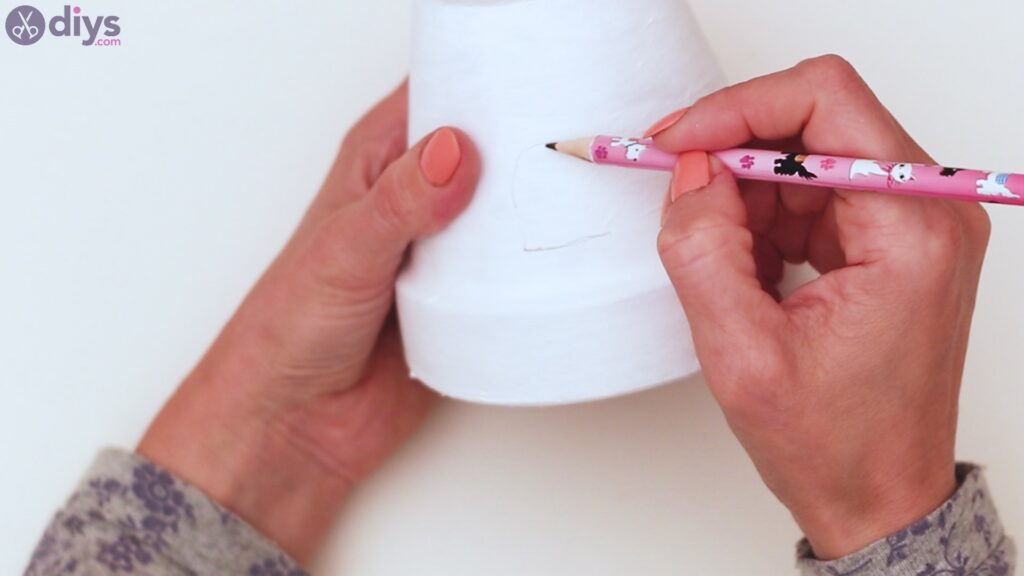
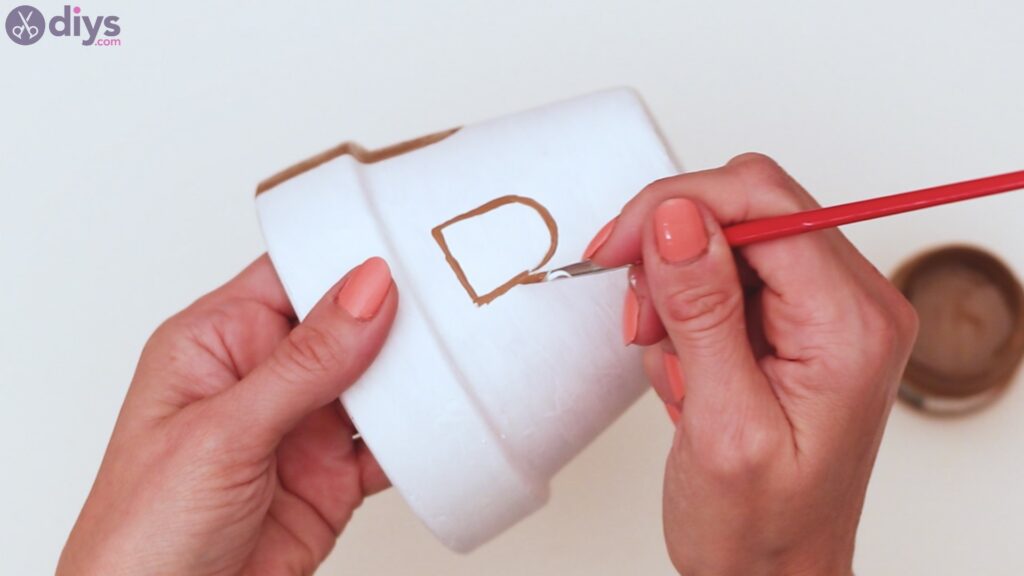
Step v: Depict the firm elements
Side by side, you need to start cartoon elements on the house too – a door, a couple of windows. So, use yourpenciland start drawing. Option a spot where you'll draw your door and then place the other elements by taking your distance from here.
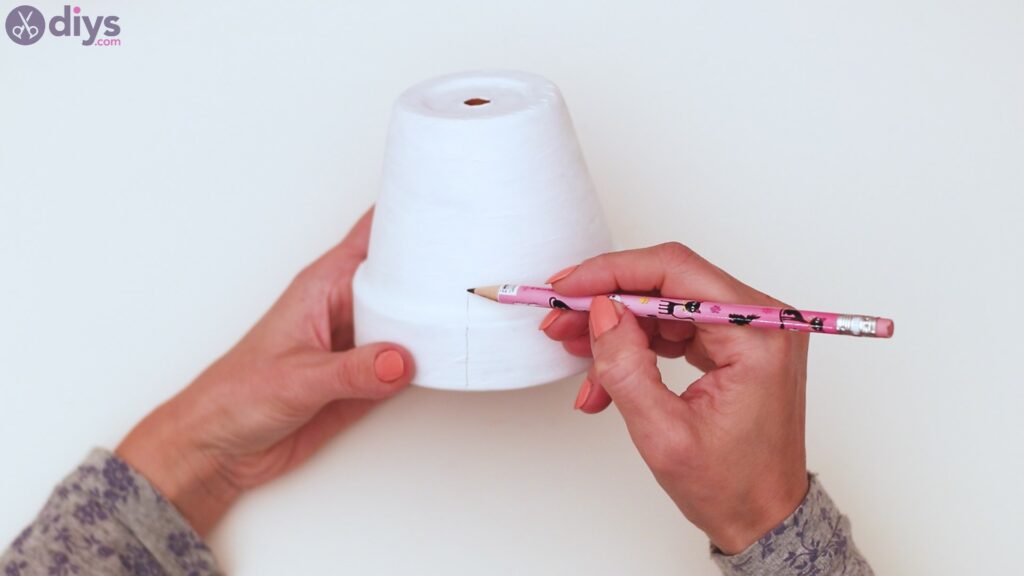
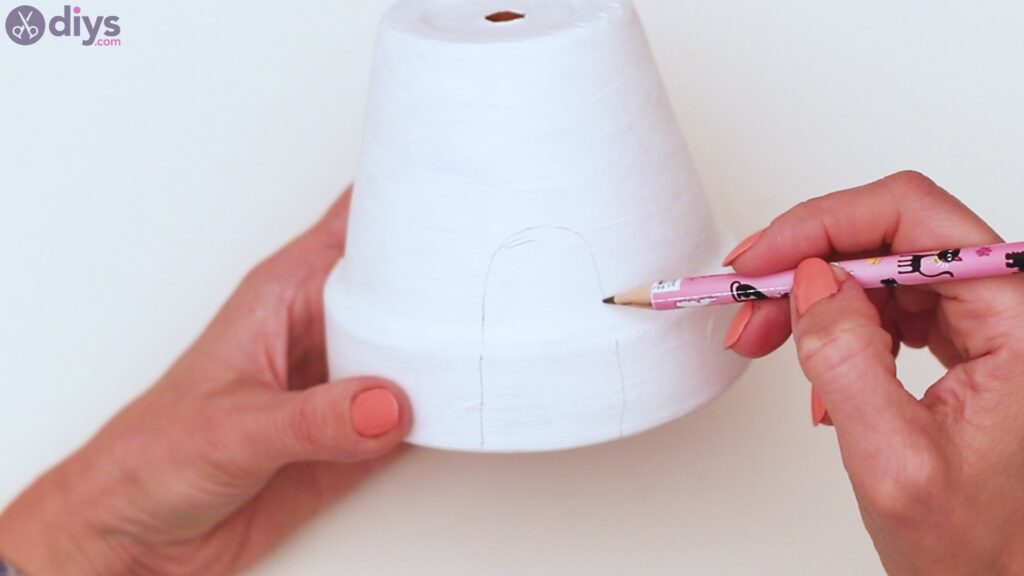
Pencil in a couple of windows too. Nosotros placed them on opposite sides, with the door in the middle of it all.
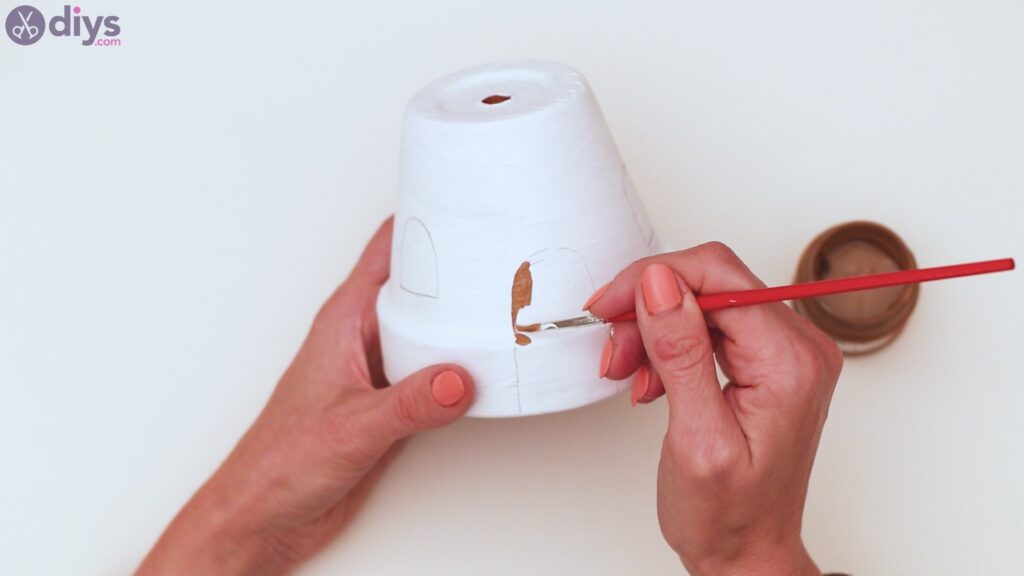
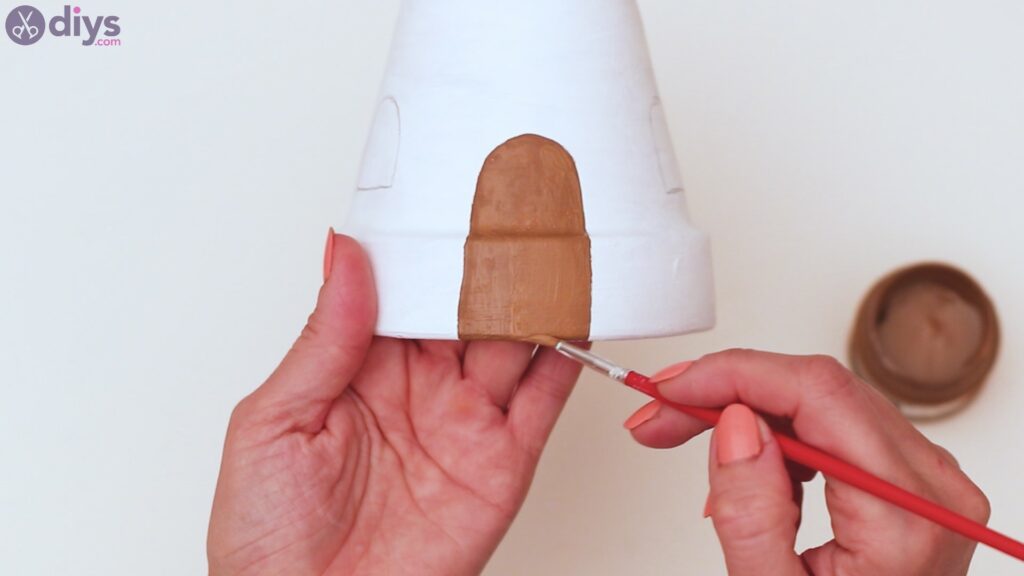
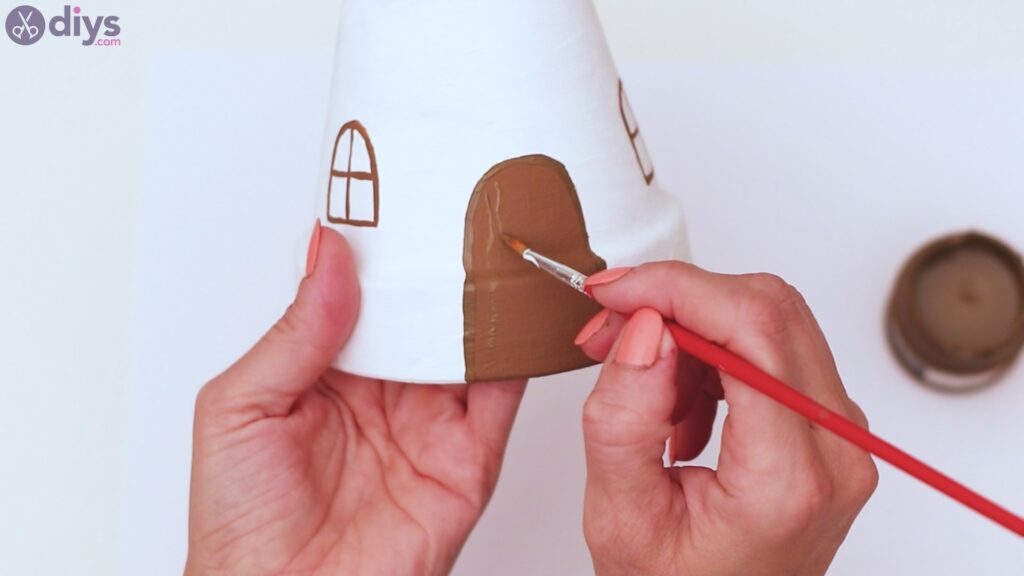
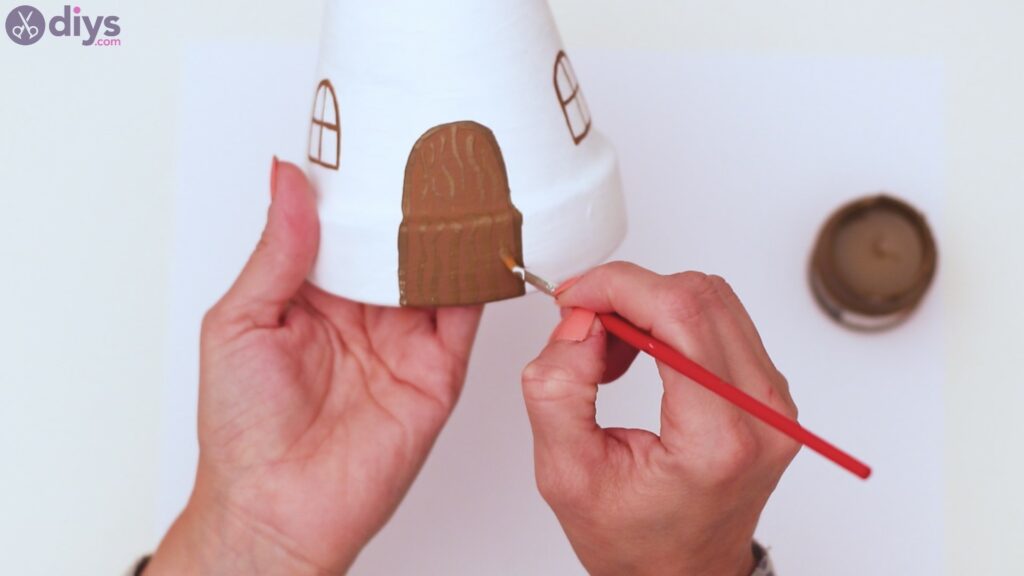
Stride six: Paint the door
Now that y'all've drawn everything, it'south fourth dimension yous painted these details. Get the lighter shade of brownish acrylic pigment and yourpaintbrush. Encompass the door area with brown pigment and make sure you respect the lines you drew, going as straight as possible when tracing them.
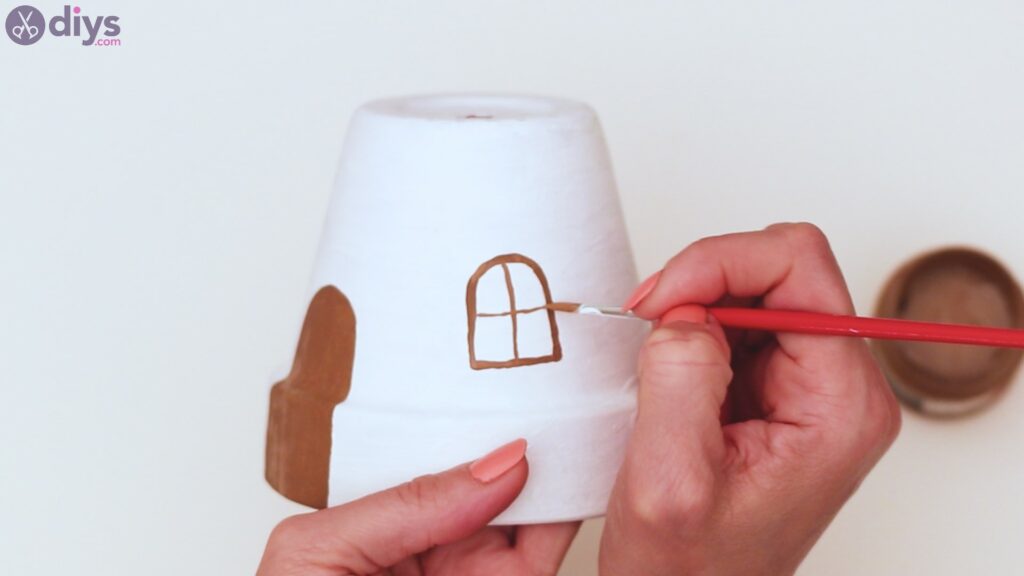
Step 7: Paint the windows
At present that you've painted the door, you tin can as well practise the windows. Here, you lot desire to trace the line you drew in, also as a plus sign in the heart – the classic shape for drawn windows.
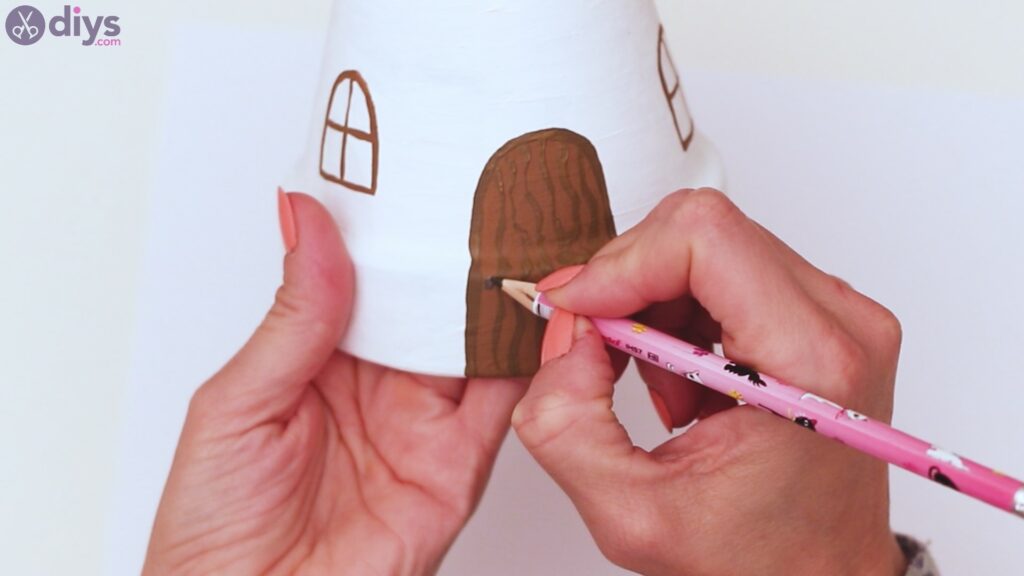
Stride 8: Add in some details
Now's the time to get the acrylic paint in the darker shade of brownish. Get the paintbrush and carefully trace the outline of the door.
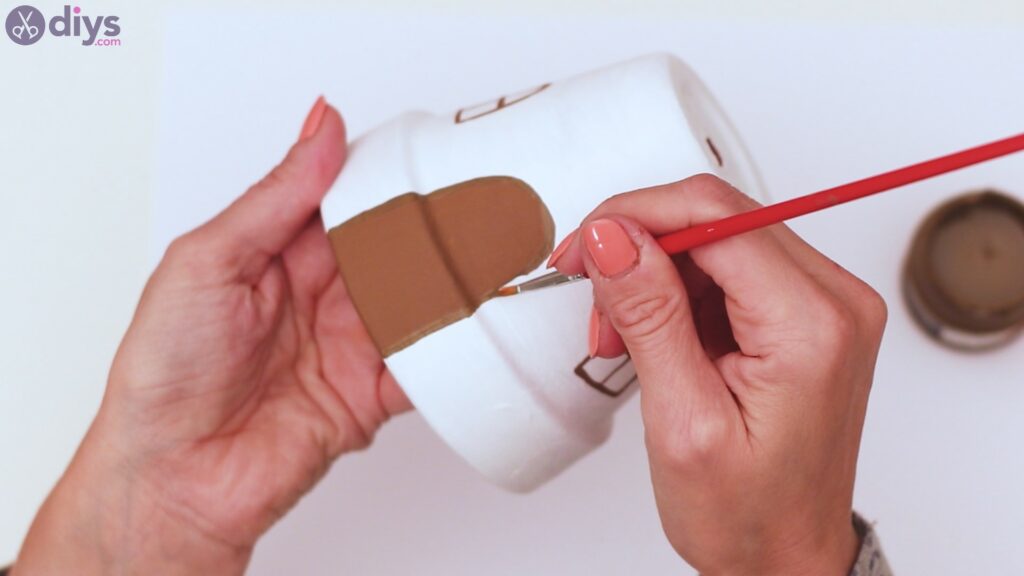
Then, trace a few lines over the door too – this will make the door look like it's made out of wood, giving it a natural grain feel. Also add in a small knob on ane of the sides.
For the knob, you may want to trace it in with a pencil when the pigment dries.
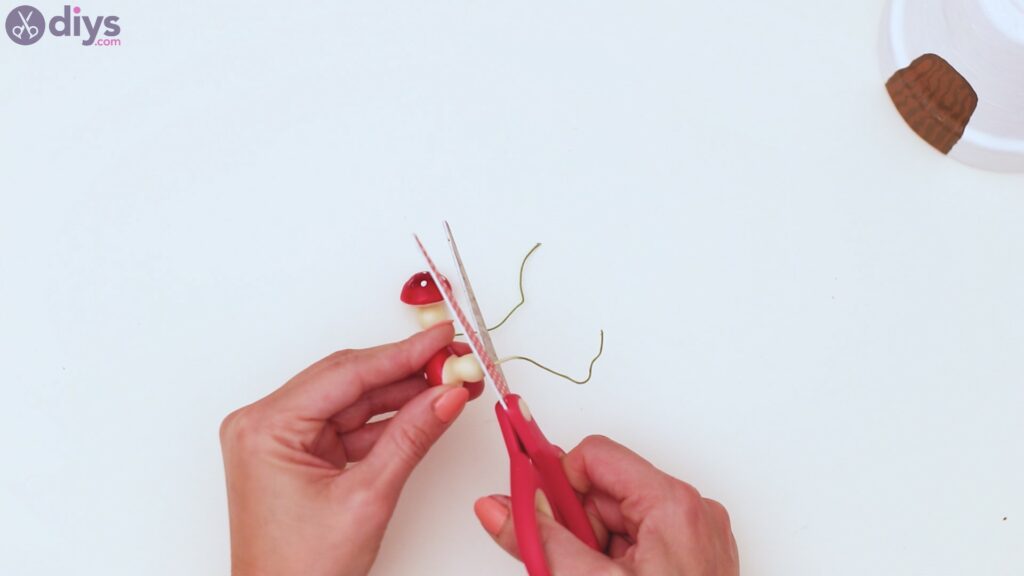
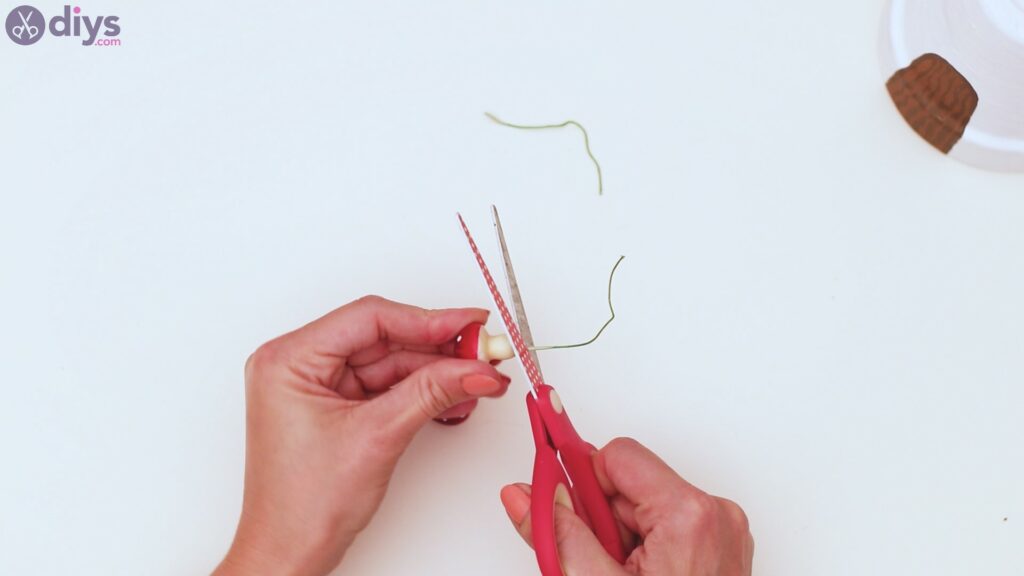
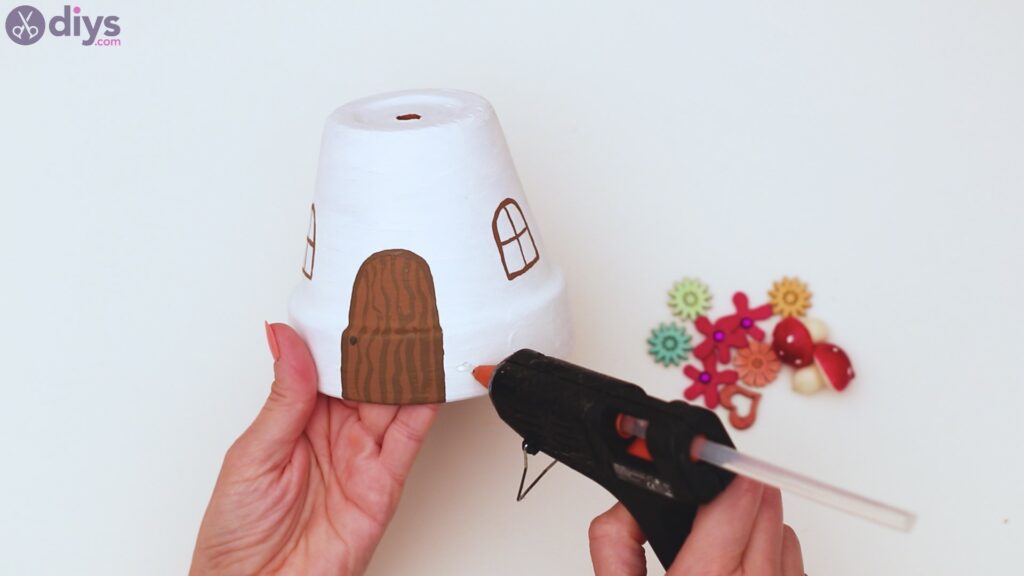
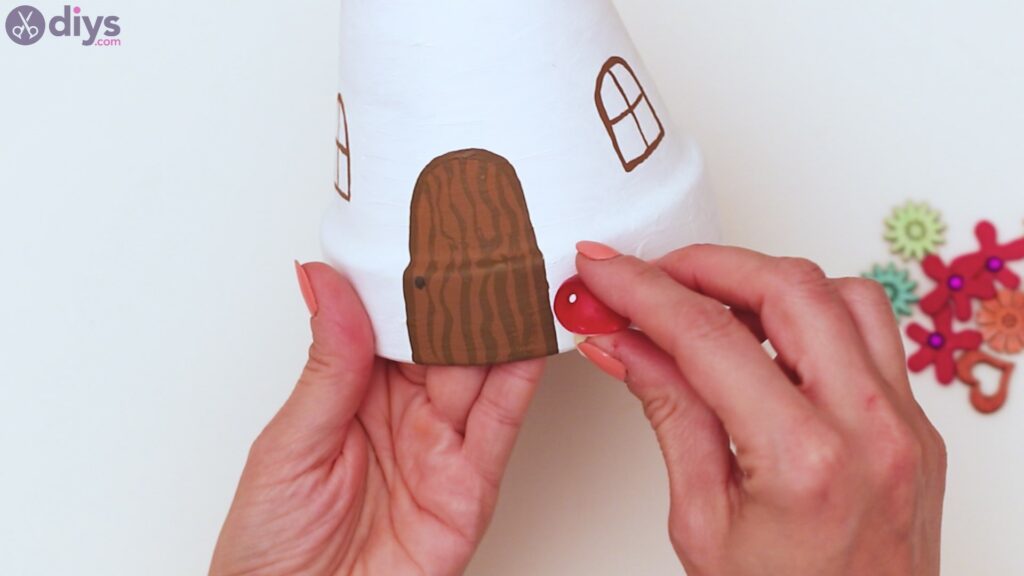
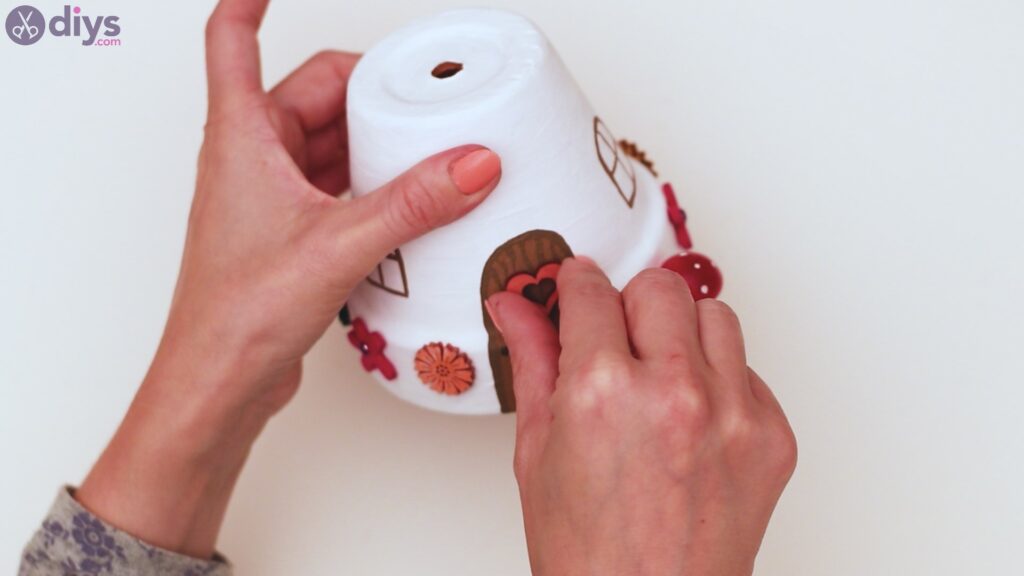
Step 9: Add the mushrooms
This is a mushroom house, just there are no mushrooms nonetheless! Well, we take to gear up this! And then, take hold of the decor mushrooms and prepare them. Ours had some wires, but yours may come up without, so you tin can just skip this part.
Become yourmucilage gun and add some on i side of the door. Identify the mushrooms over the hot gum and press them into it slightly.
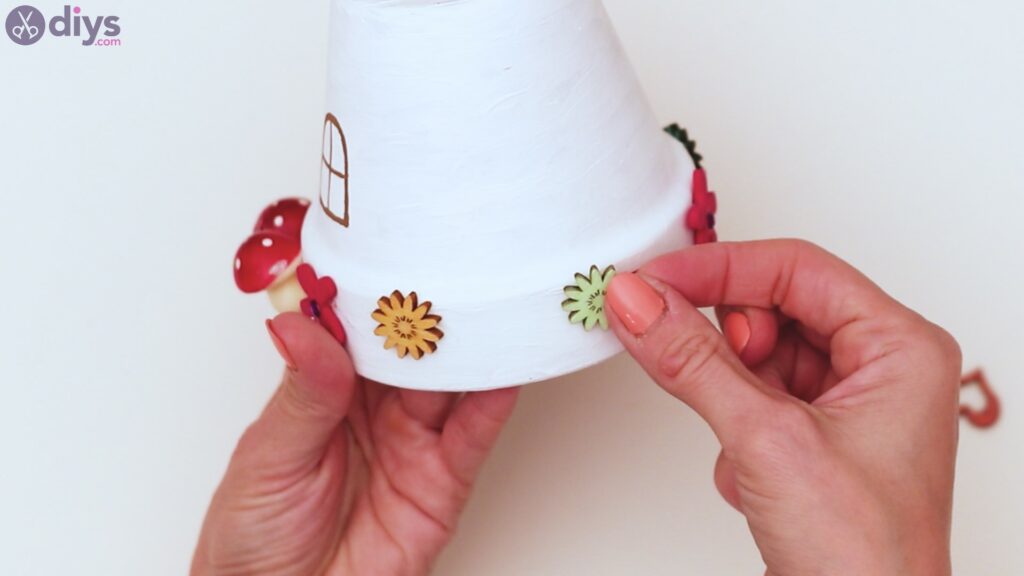
Pace ten: Add the flowers
At present that the mushrooms are upward on the mushroom house, you can start adding some of the decor flowers too. Keep adding hot glue to the pot and placing the flowers.
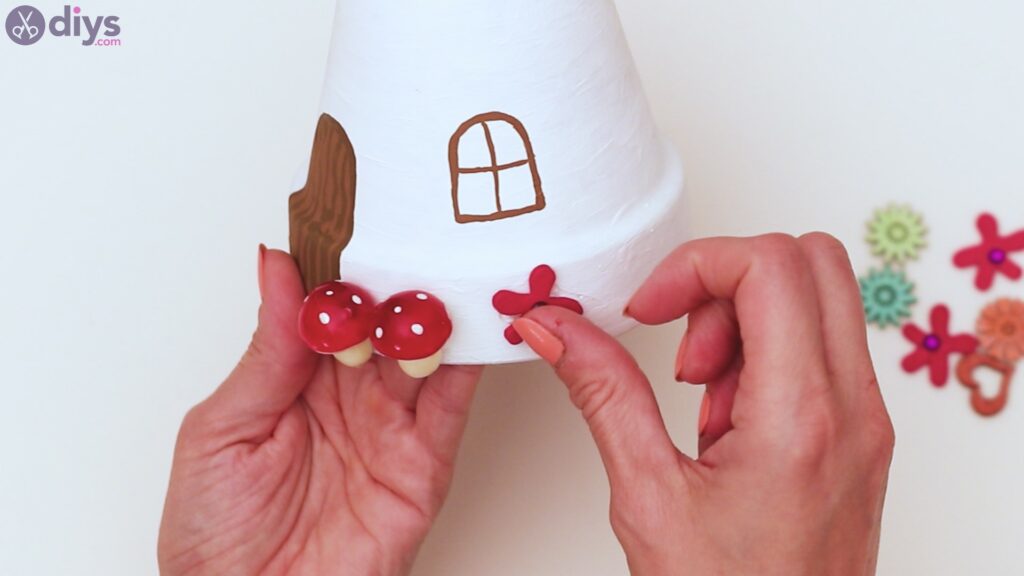
Depending on how many y'all accept how busy y'all want the design, decide where to identify them. At that place's only one rule – make certain at that place aren't spots that are too busy and others where you added no flowers.
Step eleven: Add some heart
Our list of materials besides had a pretty heart decor. Since it hasn't gone upwards yet, information technology's now fourth dimension for that. Add some hot glue over the door and place the heart on it.
Pace 12: Paint the details
With most decors added in already, it's time yous add some cute finishing tocuhes. Pick upwardly yourpaintbrush and thegreenish acrylic paint and get-go tracing downward some stems and leaves for the flowers.
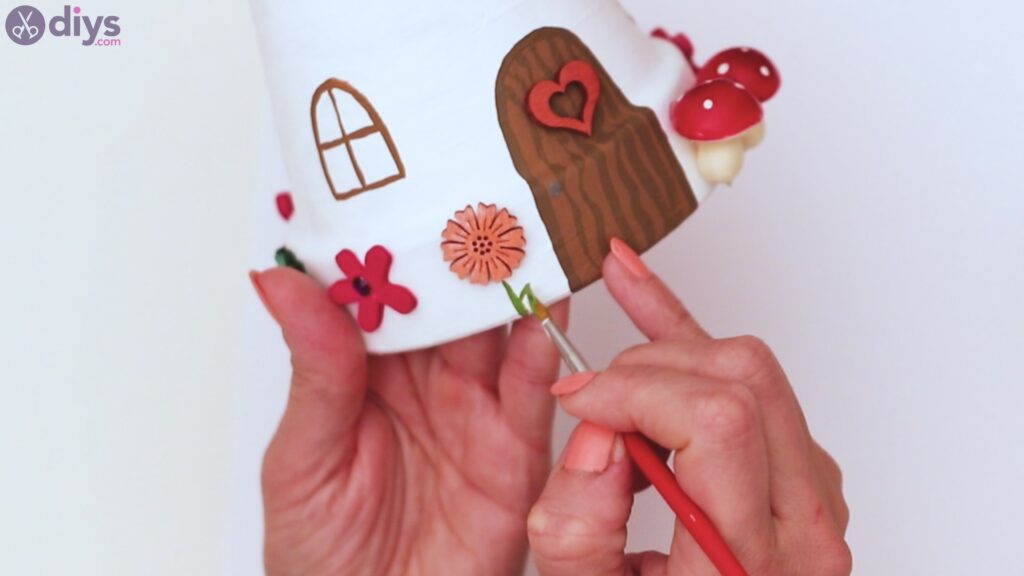
Make sure y'all don't forget to stop up whatsoever of the flowers. In this fashion, they'll await like they're growing in the garden around the mushroom house, which is incredibly beautiful.

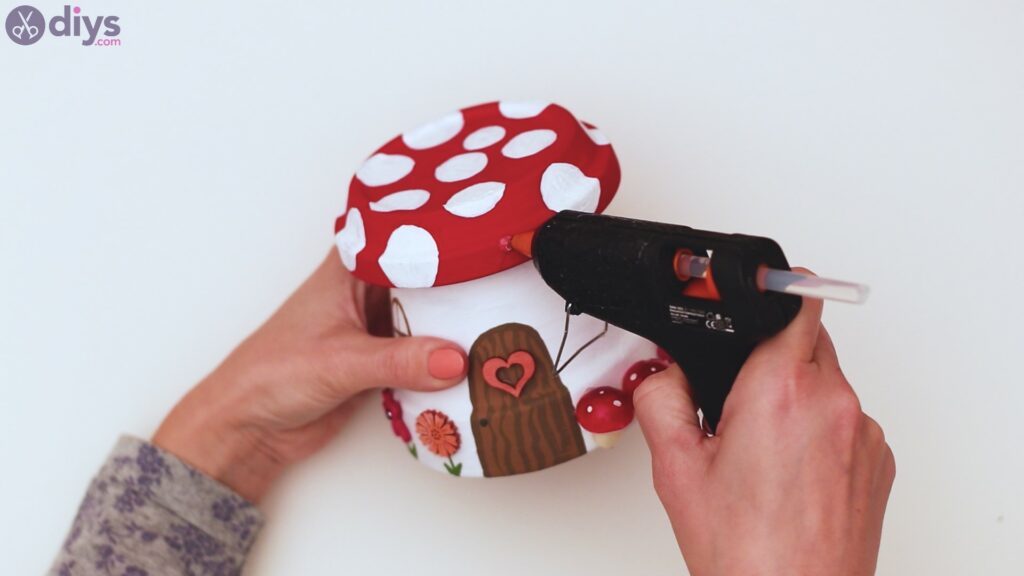
Step 13: Add the mushroom cap
We're nearly washed here, so it's fourth dimension you added the mushroom's cap. Get thegum gun and add glue on the outer rim of the overturned pot. Make sure you add lots of it, as you take a big piece to add.
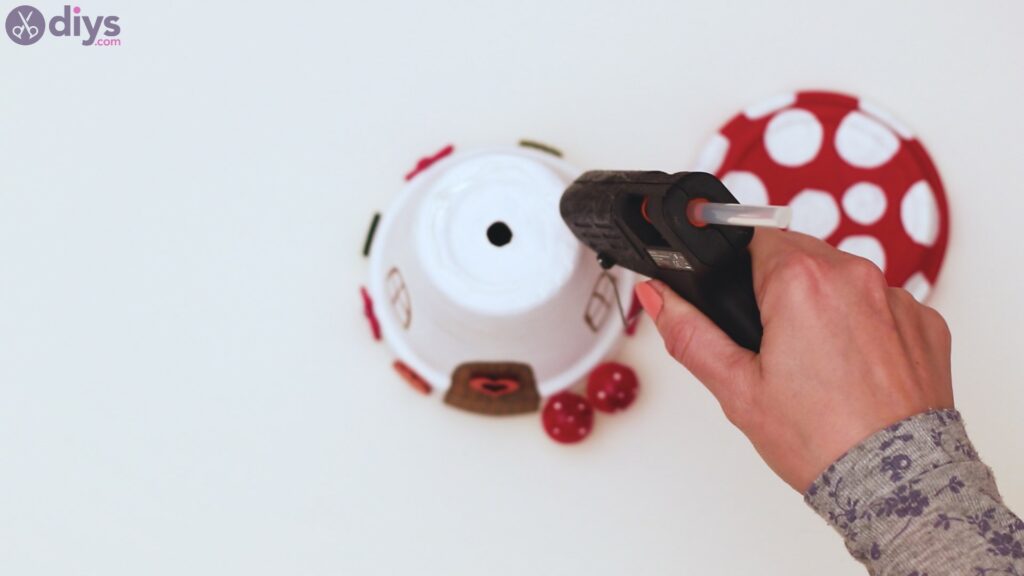
Go the drainage plate that you painted and then beautifully and add together it on top of the pot, completing the mushroom.
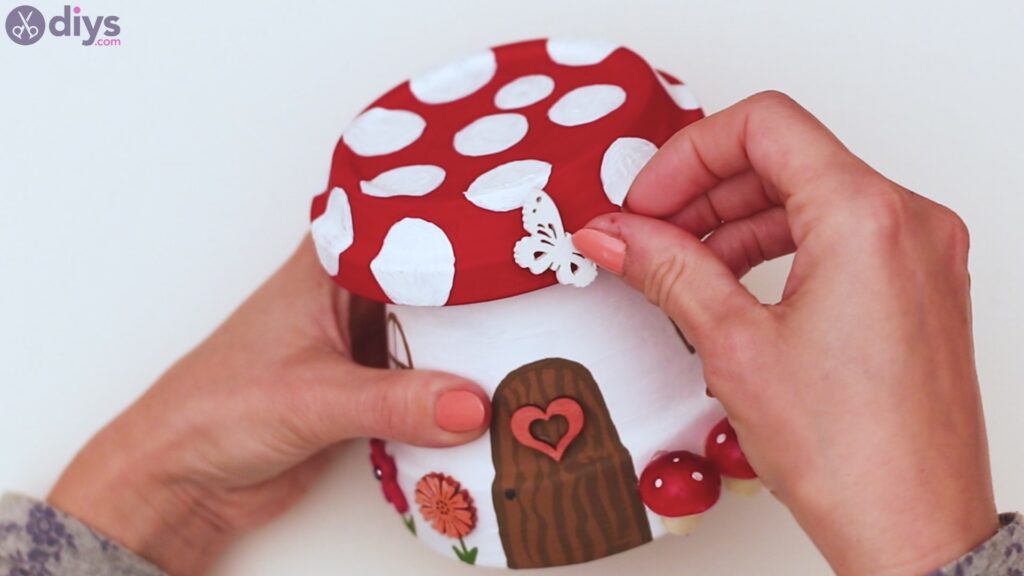
Step 14: Glue the butterfly
One last matter – we have a decor butterfly left to add. Add a hot gum dot on the mushroom house, somewhere above the main focal signal – the door.
Get the decor butterfly and add information technology to the design. Hold information technology at that place for a few seconds and you're done!
Ta da! It wasn't that complicated to do and it's such a lovely improver to your garden. You lot tin place it amidst your flowers, or maybe on your windowsill.
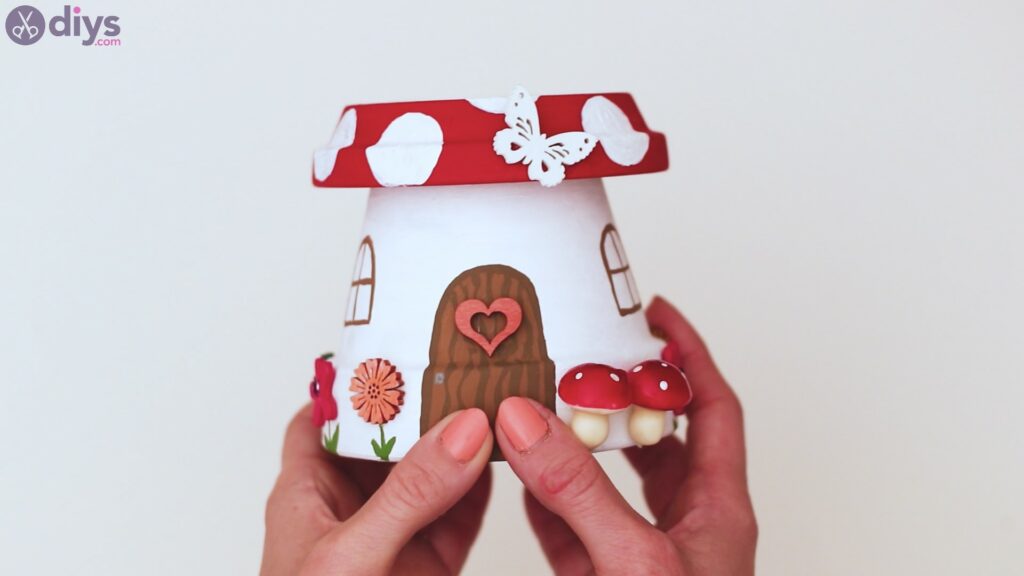
Depending on what decor pieces you lot have at home, you tin make this blueprint yours by choosing different pieces. If yous don't take any flower decors to glue, you may even paint them all in instead. It's all up to you!

We would love to see how your craft turned out, so share your pics with us over social media. Besides, drop us a comment below and tell united states what yous think about the mushroom house.
Source: https://www.diys.com/mushroom-house/
0 Response to "DIY Mushroom House - How to Make a Mushroom House for Your Garden"
إرسال تعليق